SignIn Redirection
Summary
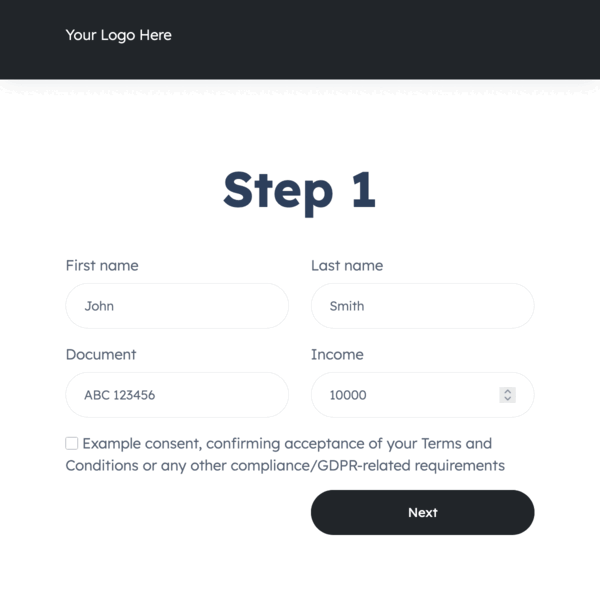
In order to use our Account Information Service, the end-user has to first log in to their bank and authorize the data access. This is achieved through our SignIn Flow that allows the users to choose their bank, accept the mandatory consents and go through the authorization process.
In this article we will focus on the SignIn Redirection which is one of the versions of the SignIn Flow. The Redirection is a Kontomatik website embedding a modified version of our SignIn Widget.
Integration
To implement the SignIn Redirection on your website you will need to:
- Get API access
- Generate API key in Insight and whitelist your servers
- Integrate with the Fetch redirection endpoint
- Handle an incoming callback from Kontomatik that will pass redirectionId's to you for finished processes
- Integrate with the Redirection status endpoint
- Handle different redirection statuses
When calling the Fetch redirection endpoint you will need to set the following:
- Provide the redirect back URI where we will redirect the user after they're done with the log in process on our side
- (Optional, recommended) Generate and assign
ownerExternalIdif you want to fetch aggregated user data later or use our Analytical Services - Specify the Widget interface language
- Specify the country of operation (limits the list of the banks to the selected country)
- (Optional) Specify the access mode to enable Multiple Access or the mixed mode
User flow
- A user visits your website, fills in a form to start your process
- You assign
ownerExternalId, a unique identifier to the user - Make the call to the Fetch redirection endpoint to get the redirection link with redirectionId
- Save the redirectionId in your database for optional asynchronous status check
- Redirect the user to the received URL. You can do it automatically on your frontend, via backend, show the link/button to the user on the page or send them the link via email.
- The user goes through the bank authorization
- Expect a redirection back (callback) from Kontomatik to the URL provided by you in the Fetch redirection parameter
- The callback includes a redirectionId - use it to call the Redirection status endpoint*
- If the user successfully logged in to the bank, the response includes session information you should save for later use
- Use the session parameters to perform Default Import
- Redirect the user to the next step in your process
- Wait for the import to finish - it's best to let the user leave your website in the meantime since the import might take longer than the user is prepared to wait
- Analyze the received data and let the user know about the next steps via email or other channels
Handling the callback
Assuming the redirectUri you provided is https://company.com/kontomatik-signin, after the authorization process is finished, we will redirect the user to https://company.com/kontomatik-signin?redirectionId=REDIRECTION_ID, where REDIRECTION_ID is the value you received earlier when using the Fetch redirection endpoint.
You will have to send the REDIRECTION_ID to the Redirection status endpoint. The response will include one of these final statuses: success, error, or expired. Please refer to the technical documentation for specifics on what data each status response may include. Your next steps will differ depending on the status:
success- perform Default Import, inform the user about the success and continue with your standard processerror- inform the user about the error, ask them to authorize data import in their bank again (create new redirection) or direct them to an alternative way of authenticatingexpired- inform the user that they took too long to authorize, ask them to go through the SignIn Flow again (create new redirection) or direct them to an alternative way of authenticating
redirectionId from the browser session (only read from the redirection URL) and that the user will be able to continue the process on your website in such case.
redirectionId after the user provides credentials.
Asynchronous status checking
In case the user never finishes the sign in process, you will never receive a callback for a given redirectionId. In order to find out what happened in such cases, you can poll for the redirection status asynchronously. This can help you gather conversion statistics and follow up with users who did not complete the process via email or phone.
Apart from the final statuses (success, error and expired) in this case you can also receive:
created- the redirection link has been generated but never usedin_progress- the user opened the website from the redirection link
Given the redirection link lifespan and observed end-users behavior during the authorization process, we recommend polling for status asynchronously at 5 to 10 minute intervals per redirectionId.
429 (Too Many Requests) error reply.
Redirection link lifespan
After the redirection link is generated, it can be used by the user for up to 1 hour. Once the time is up, the redirectionId will receive an expired status.
Each redirection status can be checked for up to 24 hours. After that, the endpoint will say that the redirectionId doesn’t exist.