How to navigate through Insight
We have created Insight to facilitate the use of our services. All the most important services are gathered in one place. On the platform, you can view the import results in a visual format, check API usage statistics, change API configurations, and manage your account settings.
How to get access
To get an invitation to sign up in the Insight portal, after having met all the formalities, you will need to send to our sales team details about a person who should receive the admin rights. The invitation will be sent by our support team and will be valid for 7 days.
The invitation will take you to registration page where you’ll be required to set up a password and 2-factor authentication (2FA). For the latter, you will need a smartphone app like Authy or similar. The login will be simply your email address. For details about a two-factor, please visit this page.
As soon as you register, you will be able to invite your co-workers to the Insight portal and choose their user rights.
Insight Platform overview
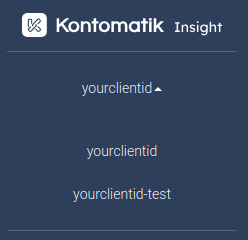
After logging in, you should see your account name (client ID) on the top, clicking it will show you the full list if you have more than one account.
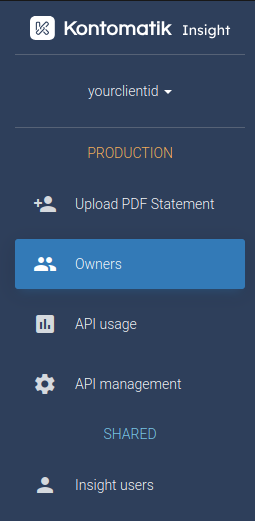
The top menu is designed to provide easy access to different sections of your Insight portal. It is split into two main categories: Commercial Section, Test Section, and Shared Section.
The bottom menu varies depending on the section you are in. In the Commercial section, it provides tools and options specific to commercial data and workflows. In the Test section, it offers features relevant to test data and related operations. When in the Shared section, the bottom menu displays a set of tabs that allow you to view and manage shared changes applicable to both the Commercial and Test sections.
Environments
There are two types of environment in Kontomatik - TEST which should only be used for testing and COMMERCIAL for production purposes. Both environments include the same functionality.
Within the TEST or COMMERCIAL section, you’ll find specific tabs that are available depending on your account’s configuration, which may be enabled through your contract.
This section is dedicated to managing your individual account’s settings in either the TEST or COMMERCIAL environment.
SHARED Section:
The SHARED section applies universally across both your TEST and COMMERCIAL environments, making it easy to manage settings that are consistent across both.

In this section, you’ll see the following tab:
Tabs
Upload PDF Statement
Here you can submit your bank statements in PDF format. Just go to the tab, enter ownerExternalId (to identify the user later with your assigned ID), select a bank, upload PDF statements obtained from the user and confirm the operation. If the file is correct, you should receive a report based on the statement you upload.
This tab is optional, only accounts that have the PDF parsing service enabled will have it visible.
Owners
Here you can review imported end-users data. After a successful import, the data will automatically appear. You can search the list by ID or by name. The view contains a list of successful imports.
API Usage
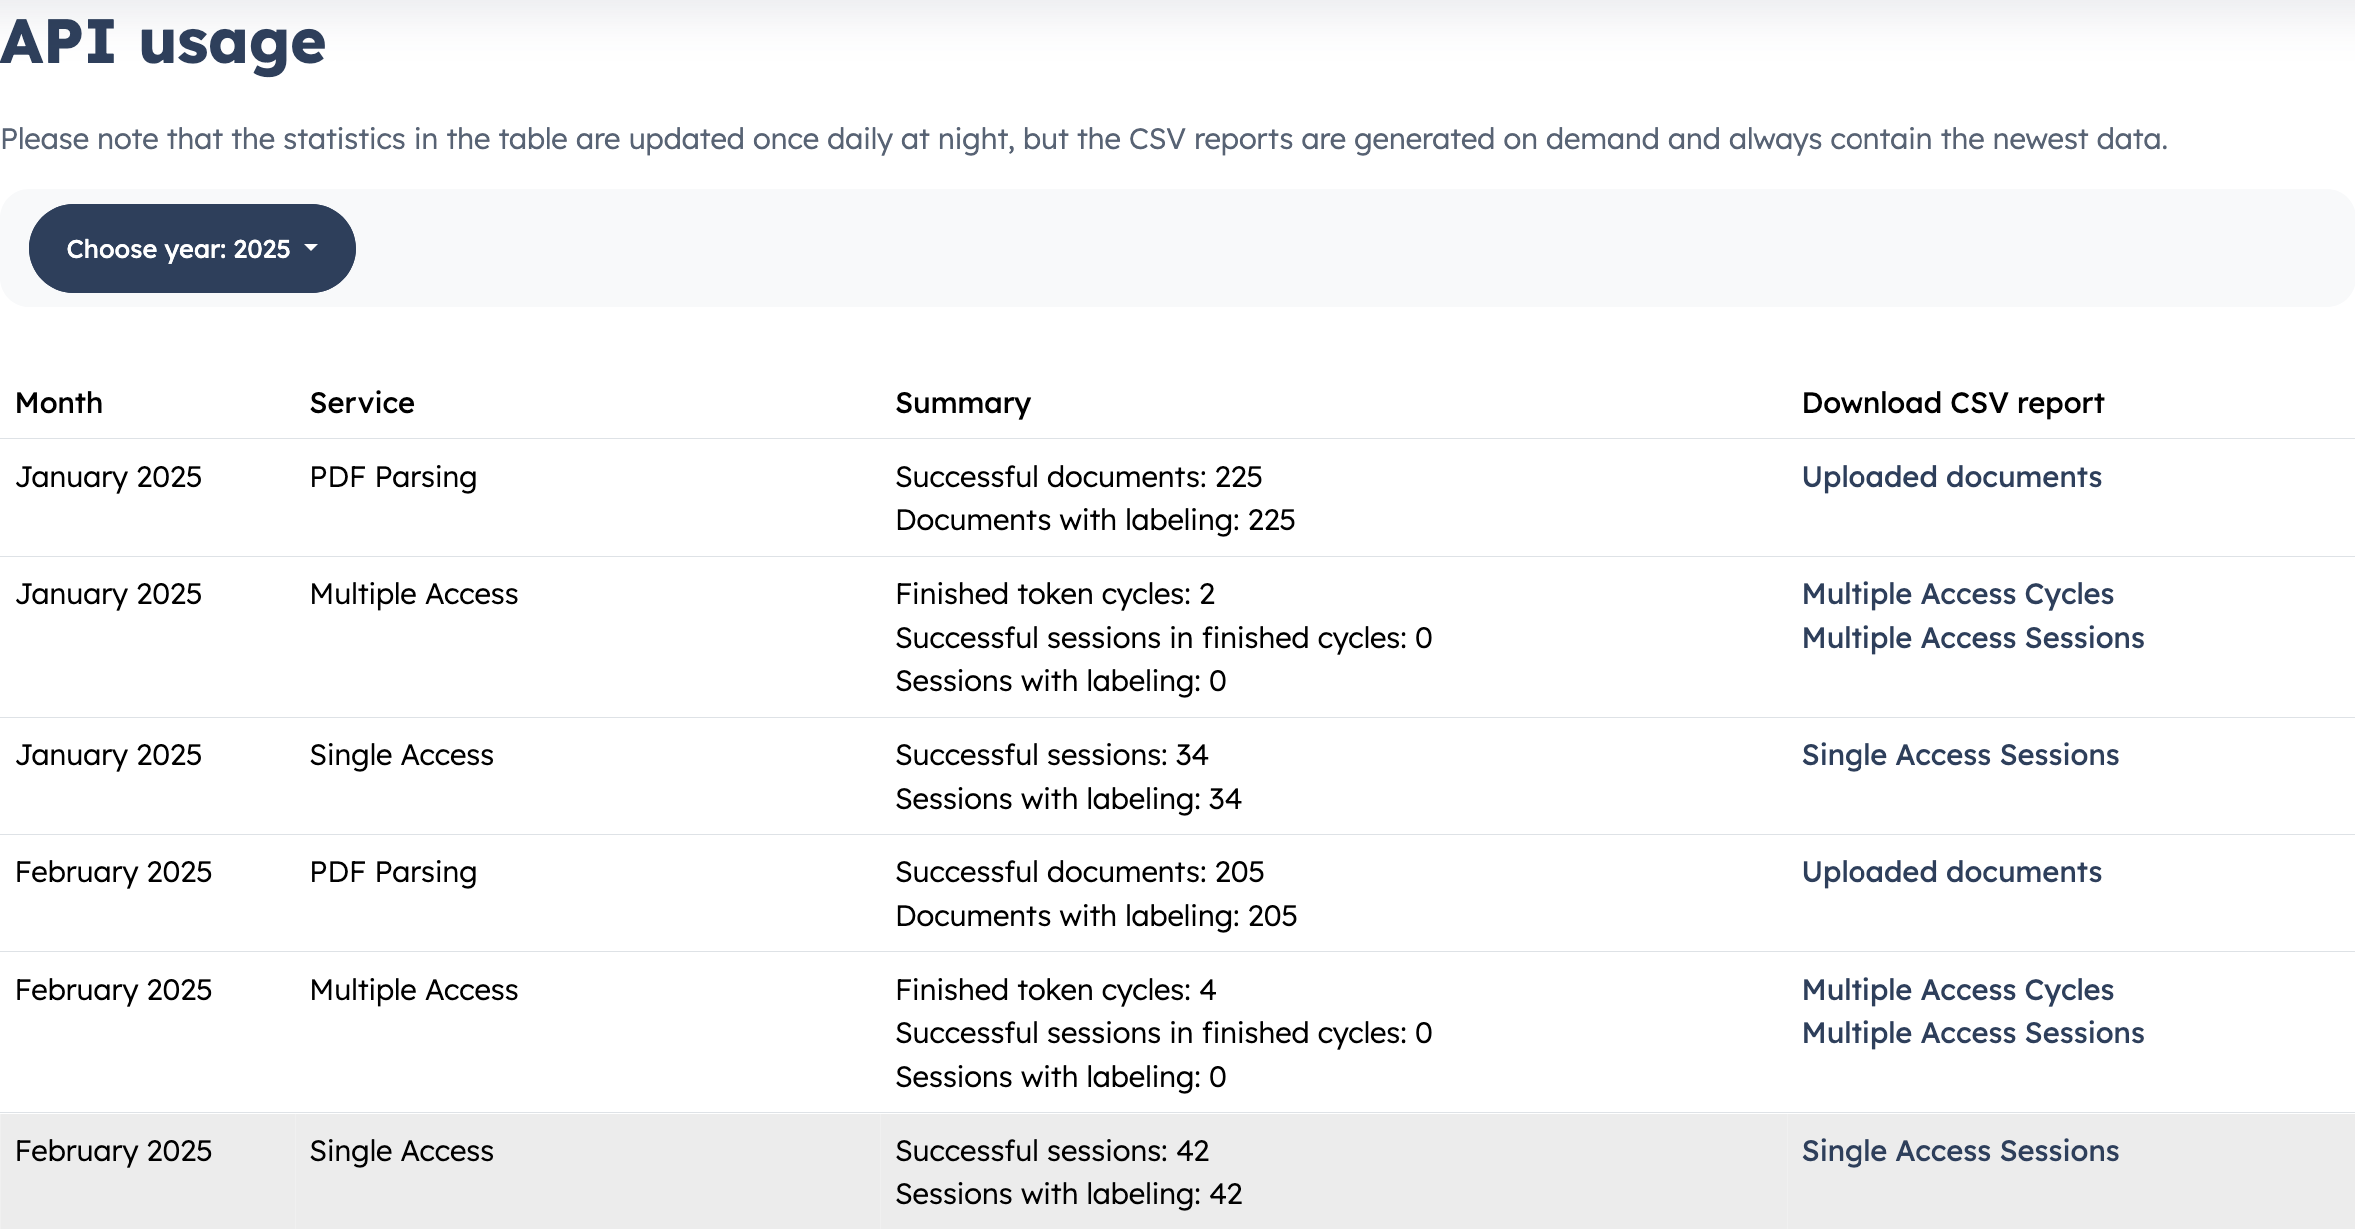
The tab is a dedicated tool for monitoring the usage of Kontomatik services on a monthly basis. It allows you to view session counts for each service on a monthly basis.
Within this tab, you also have access to the option to download a CSV file containing data on the number of reports and detailed information about the reports generated in a specific month.
You can easily switch between different years by accessing the drop-down menu in the top left corner.
API management
Here you can manage your API settings:
-
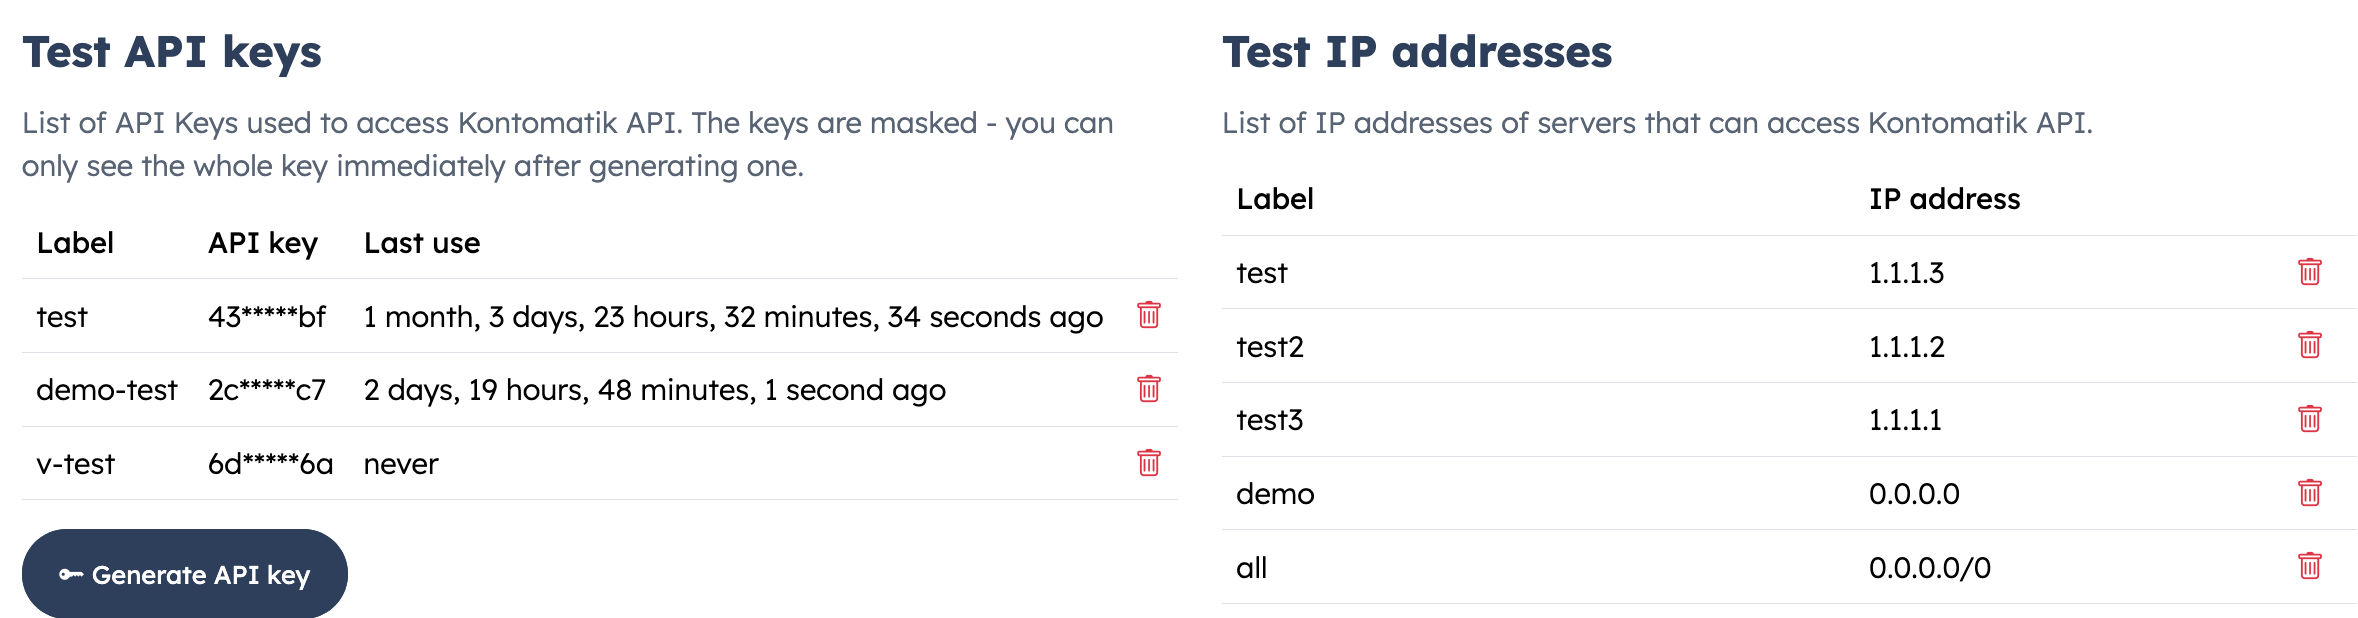
API keys - list of API keys used to access Kontomatik servers. The keys are masked - only two first and last characters are shown. You can only see the whole key immediately after generating one. You can also generate new keys here (multiple keys can be used simultaneously).
-
IP Whitelist - list of IP addresses that can access Kontomatik servers to import data - for the test environment you can use wildcards whereas for production one you’ll need to add your server’s IPs separately (up to 30).
-
XLSX Password - here is the password you should use to decrypt XLSX files with the client’s data.
Reports

In this section of the platform, you can create a financial report by securely submitting the necessary data for analysis. The service collects and processes information from the client’s bank account to assess their financial condition.
The Kontomatik Report process begins with generating a token for the client. The client uses the token to initiate the process, entering their email address and granting the required permissions. After authorizing the bank to allow Kontomatik to retrieve their data, the system generates the financial report. Once the process is successfully completed, the report is sent to the client’s email and is also available for download on the Insight platform.
This tab is optional, only accounts that have the Reports service enabled will have it visible.
Insight Users
The Insight Users tab is divided into three sections:
-
Users of account - change user permissions, delete accounts and reset 2FA - to find out more, please see this page.
-
Subscribers - add the additional emails for the users which should be informed about API changes and important product updates, but do not require access to the Insight platform.
-
Invitations - Under invitations you’ll be able to see previously sent invitations and whether they were accepted. There’s also an option to add another user to your account - just click the
Invite memberbutton. Remember that the invitation is valid only for 7 days. You can find out more about the user management option in this guide.